
Make Your Own Veil
DIY wedding? Here's how to make your own magical veil
4/17/20253 min read
Weddings are super expensive, it's no secret.
So let me show you how to make your own gorgeous veil, no sewing machine needed!
Supplies list:
Tulle
Needle and Thread
Scissors
Embellishment (optional)
Veil comb
First things first, decide on the style of veil you like. Have a quick google to see which you think would be best for you.
All one length?
Or an extra layer?
Tip: a layer that goes over your face is called a blush layer!
What shape?
Lengths:
elbow
fingertip
floor
chapel
cathedral
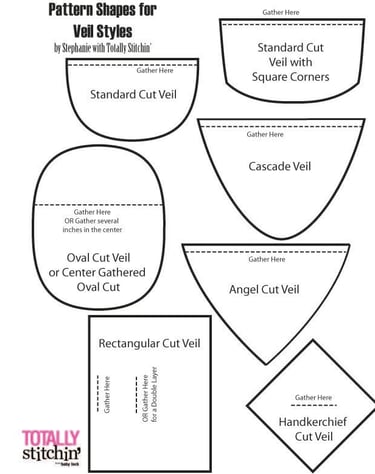

Image from pinterest
For this tutorial, we are going to make a standard cut veil, fingertip length.
Preparation:
You'll want to measure from the top of your head to your fingertips (or other length)
When purchasing tulle, check the width, you'll need around 150cm wide tulle for a good gather.
Check the shade of tulle with your wedding outfit, particularly if you are wearing ivory as it comes in many hues.
Consider the drape of the tulle, do you want something light and airy? soft? stiffer to hold shape? eco-friendly?

Now you've got the tulle, you've got the supplies, and you've got a vision, let's get to work!
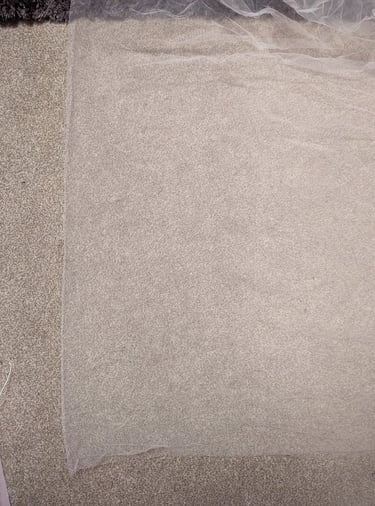
Fold your tulle in half like a book to get a symmetrical bottom.
Using your scissors, cut a curved edge off the bottom (picture on right)
For a really smooth edge, use a rotary cutter and cutting mat.
If you're adding a trim to the bottom, do this before following the rest of the tutorial. Pin carefully in place before sewing, hand tack for extra precision.


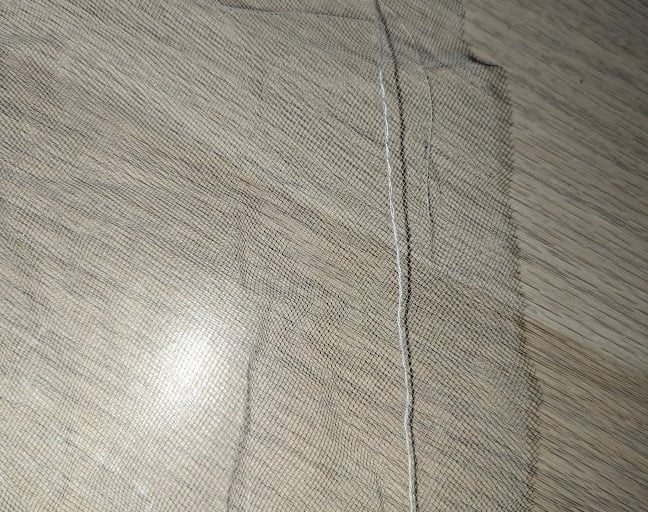
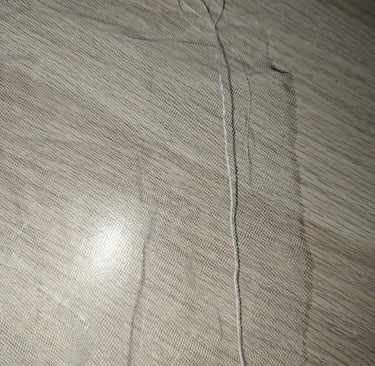
About 1.5 cm from the top edge (not the edge you cut), you'll need to do a running stitch.
If you're doing this by hand try to ensure the spaces between stitches are even.
On a machine, set the tension to 0 and the stitch length to the longest setting.
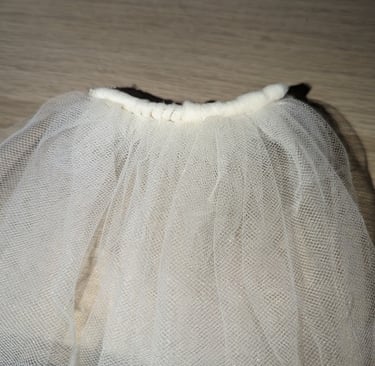
Tie off one end, and on the other end hold one of the threads whilst pulling on the other, feed the gathers down the stitching until its about as wide as the veil comb.
It should look like this!
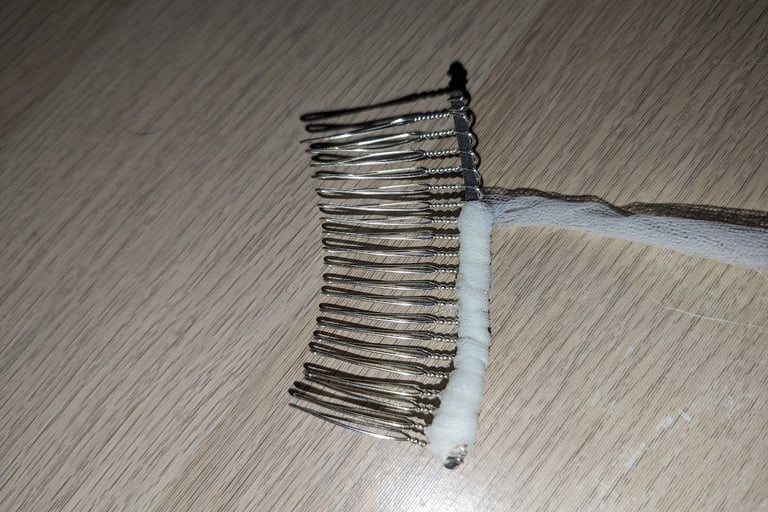
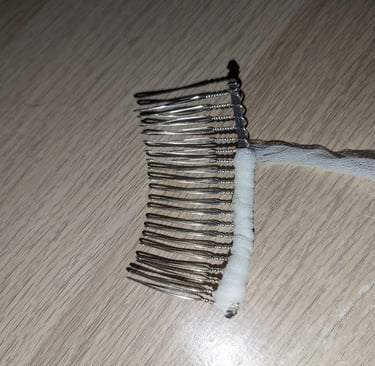
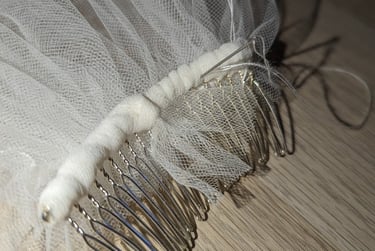
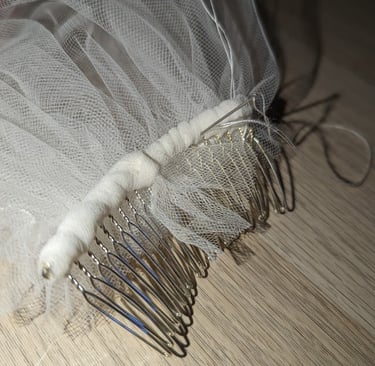
To prepare the veil comb so you're able to attach it, you'll need a scrap of tulle.
What you've cut off to shape the veil is great for reducing waste!
Cut it down to a rectangle and wrap it around the comb base, threading it between the teeth.
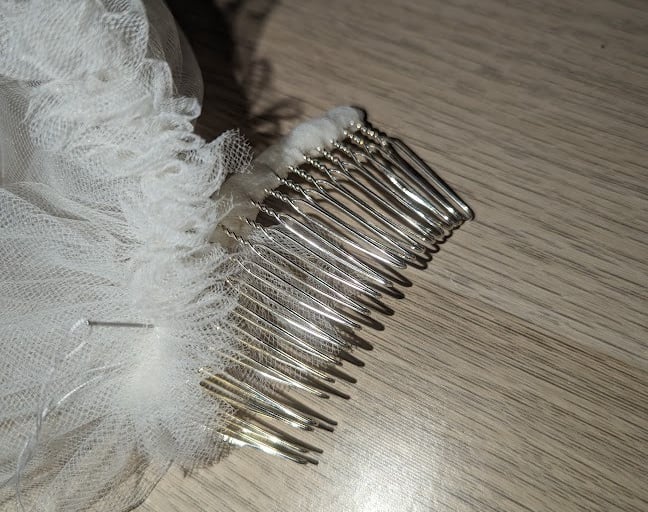
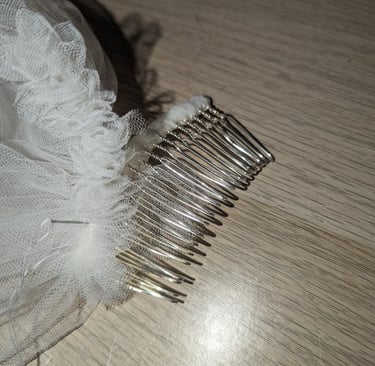
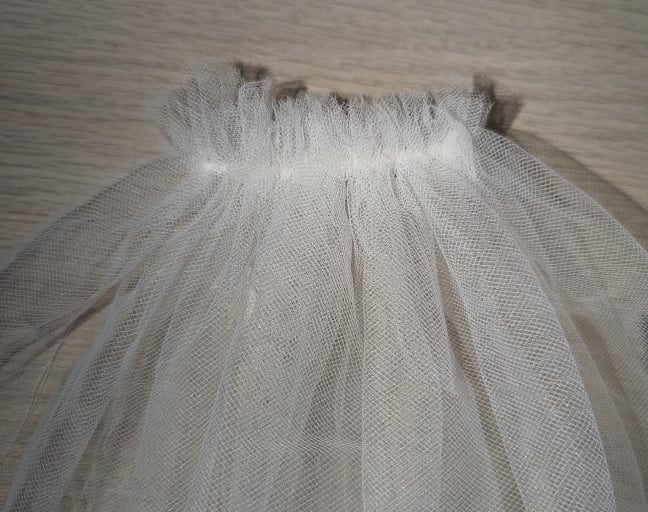
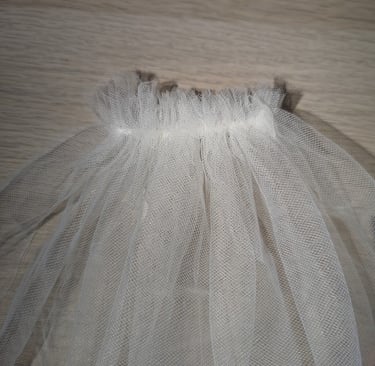
Now simply sew along the gather line, fixing it to the tulle wrapped around the comb. Make sure you've got the comb facing the right way so the raw edge is underneath when worn.
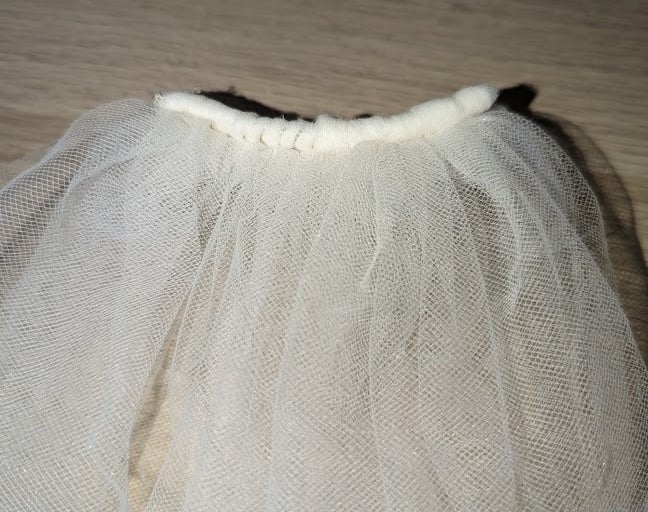
If the top of your veil looks like this, congratulations! You made your own veil!
The customisation options are endless! Here are some ideas to get you started:
embroidery applique (you could even use embroidered tulle!)
pearls or beading
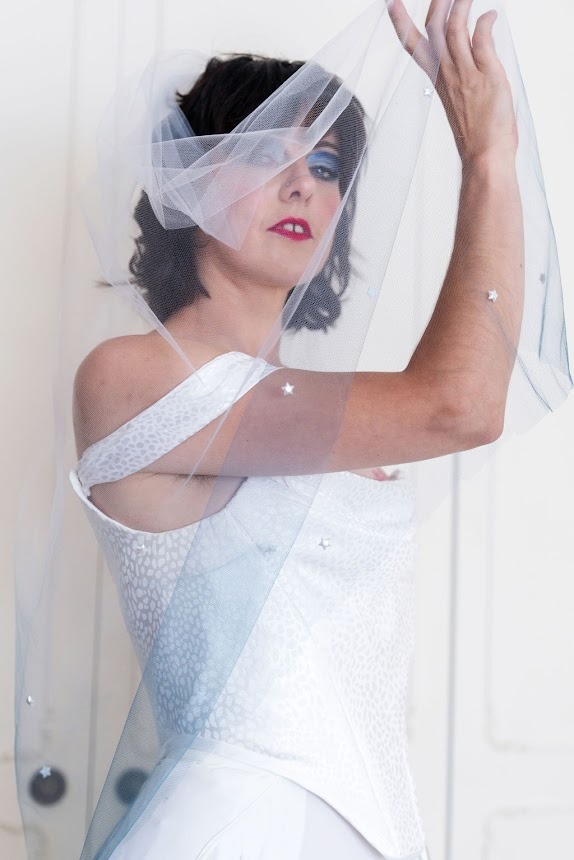
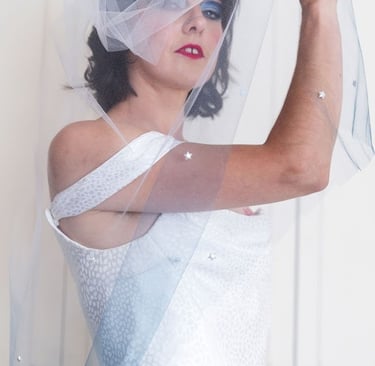
embellishments (like these tiny stars)
dip dye
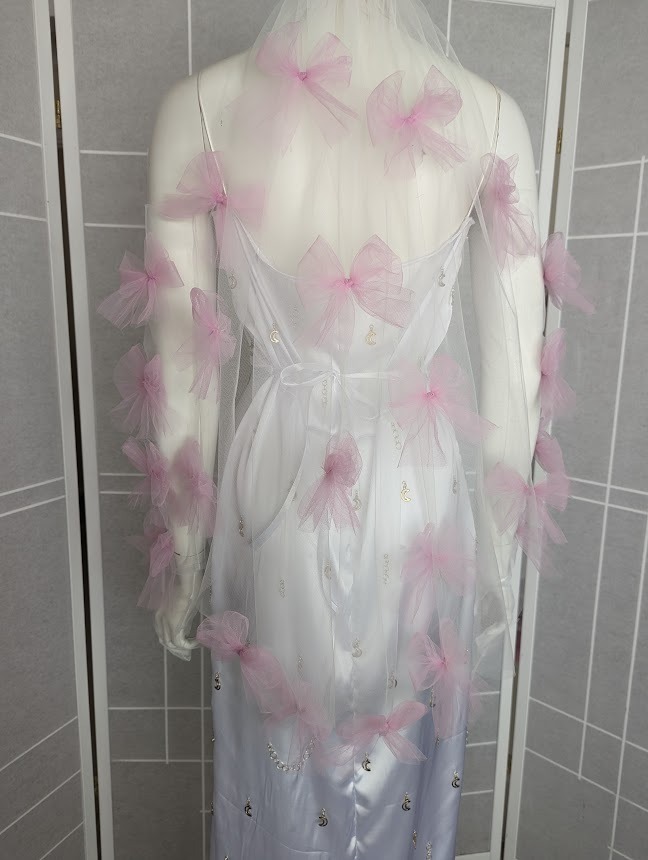
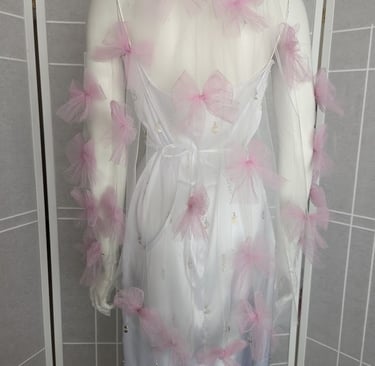
ribbon bows
frills
Etsy is a great place to search for these things if you don't have a local haberdashery!
Have fun with it!
If you have any questions about making your own veil, shoot me an email or DM on Instagram and I'll be more than happy to help you out!